
How to Teach a Child to Write Letters: 8 Easy Steps for Parents
Learning to write letters is a big milestone. It is one of the first times a child turns an idea into marks on paper — and it can feel exciting and frustrating at the same time. The good news is that you do not need special training to help. With the right order of steps, a little practice every day and lots of encouragement, most children can learn to write their letters clearly at home.
In this guide, you will learn how to teach a child to write letters step by step — the same simple approach teachers use when they teach kids to write in the classroom: when kids are ready, which letters to teach first, how to fix common mistakes, and fun activities that make practice feel like play.
Key Takeaways
- Most children are ready to start writing letters between ages 3½ and 5.
- Build hand strength and teach pencil grip before letters.
- Teach uppercase letters first, in groups of similar shapes.
- Use multisensory practice (sand, playdough, air writing) before paper.
- Keep sessions short: 5–10 minutes a day beats one long session.
Table of Contents
When Is a Child Ready to Write Letters?
Every child develops at their own pace, but most are ready to begin forming letters somewhere between 3½ and 5 years old. The CDC developmental milestones for 4-year-olds are a helpful guide, but age matters less than these signs of readiness:
- They can hold a crayon or pencil with their fingertips, not their whole fist.
- They can copy simple lines: a straight line down, a line across and a circle.
- They can copy a cross (+) and, a little later, a square.
- They show interest in letters — pointing at signs, “writing” lists or asking how to spell their name.
- They can sit and focus on a small activity for a few minutes.
If your child cannot do these yet, that is completely normal. Learning how to teach a child to write always starts with strong hands, so spend a few weeks on the fine motor activities below before starting letters.
What You Need Before You Start
- Short, thick pencils or crayons — small tools encourage a better grip.
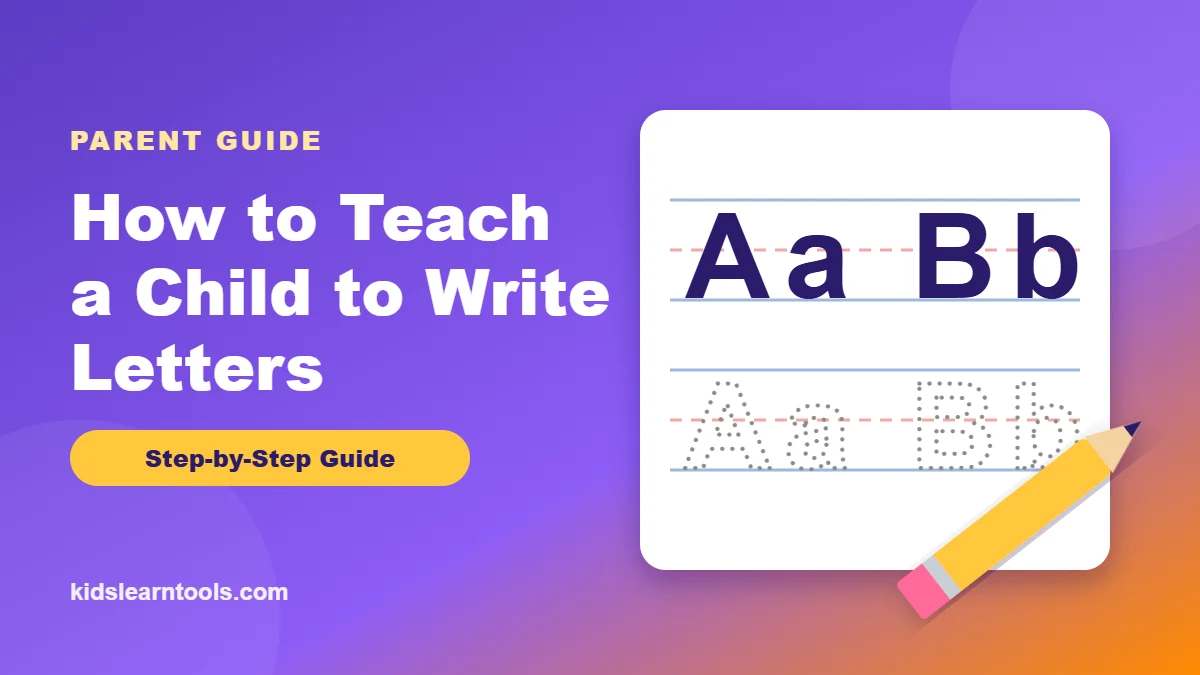
- Lined handwriting paper with a top line, dashed middle line and baseline.
- Tracing worksheets — you can make free ones with our Letter Tracing Worksheet Maker.
- Sensory materials like a tray of sand or salt, playdough and a whiteboard.
- A comfortable table and chair so your child’s feet can rest flat.
How to Teach a Child to Write Letters: Step by Step
Step 1: Build Fine Motor Skills
Writing uses tiny muscles in the hands and fingers. This is the first step in how to teach a child to write: strengthen those muscles with play before asking for neat letters.
- Squeezing and rolling playdough
- Picking up small objects with tweezers or clothespins
- Cutting with child-safe scissors
- Building with blocks and threading beads
- Peeling stickers and tearing paper into small pieces
Step 2: Teach the Correct Pencil Grip
A good grip makes writing easier and less tiring. Show your child the “tripod grip”: the pencil rests on the middle finger and is pinched by the thumb and index finger. A simple trick is to say “pinch, flip, grip” — pinch the pencil near the tip, flip it back onto the hand, and hold.
- Use short pencils or broken crayons so the child naturally uses fingertips.
- Check that your child is not wrapping the thumb over the fingers.
- Remind them to hold the paper still with their other hand.
Step 3: Practice Pre-Writing Strokes
Every letter is made from a few basic strokes. Practice these first on big paper or a whiteboard:
- Vertical lines ( | )
- Horizontal lines ( — )
- Circles ( O ) drawn counter-clockwise
- Diagonal lines ( / and \ )
- Crosses ( + ) and X shapes
- Curves and “humps” like the top of n and m
Step 4: Teach Uppercase Letter Formation in Shape Groups
Uppercase letters are easier for beginners because they all start at the top line and use more straight lines. Instead of teaching A to Z in order, teach letters that share similar strokes together: Most teachers agree this is the easiest way to teach kids to write their first letters.
- Straight-line letters: L, F, E, H, T, I
- Curvy letters: C, O, Q, G, S, U, J
- Line and curve letters: D, P, B, R
- Diagonal letters: V, W, X, Y, Z, A, K, M, N
Correct letter formation — where a letter starts and which way the pencil moves — matters more than neatness at this stage. Teach one or two letters at a time. Say the letter name and its sound as your child writes it, so writing and phonics grow together. If your child does not recognize letters yet, start with these fun letter recognition activities first.
Step 5: Make It Multisensory
Before using a pencil, let your child “feel” the shape of each letter. This builds memory for the movement.
- Write the letter with a finger in a tray of sand, salt or shaving cream.
- Roll playdough “snakes” and shape them into letters.
- Write giant letters in the air with a straight arm.
- Trace letters on your child’s back and let them guess.
- Use chalk on the sidewalk or a wet paintbrush on a wall.
Step 6: Trace, Then Copy, Then Write Alone
Once your child knows the movement, move to paper in three stages:
- Trace: follow dotted or gray letters. Make free, printable sheets in seconds with our letter tracing worksheets.
- Copy: look at a model letter and write it in the space next to it.
- Write independently: write the letter from memory when you say its name or sound.
Step 7: Introduce Lowercase Letters
When uppercase letters feel easy, start lowercase — these are the letters children will read and write most. Teach them in families that start with the same movement:
- “Magic c” letters: c, a, d, g, o, q (all start with a c-shape)
- Tall line letters: l, t, i, j, k
- Bump letters: n, m, h, r, b, p
- Tricky letters: e, f, s, u, v, w, x, y, z
Step 8: Practice Writing Their Name
Children are most motivated to write their own name. Start with a capital first letter followed by lowercase letters (for example, “Sara”, not “SARA”). Type your child’s name into our tracing worksheet maker to create a personal name practice page. Their name is also a perfect real-life test of everything you have learned about how to teach a child to write.
From My Classroom
As a teacher, I have seen that young children learn letters better when they can see, hear and practice them. I often use colorful letter cards, simple pictures and fun activities to make learning easy and enjoyable.
One technique that works well is asking children to say the letter aloud, recognize its shape and connect it with a familiar word. For example, I teach the letter “A” with the word “Apple.” Repeating this activity helps children remember the letter more easily.
I have also noticed that children learn at different speeds. Some children need more time and practice, while others learn quickly. I encourage every child with kind words and small activities. In my experience, making learning fun and stress-free helps children feel confident and enjoy learning new letters.
— Shagufta Aslam, M.Ed, 8 years of teaching experience
Common Letter-Writing Mistakes and How to Fix Them
- Reversing b and d: teach “b” as “bat then ball” (line first, then circle) and “d” as “c then line” (curve first). Practice them on different days, not side by side.
- Starting letters from the bottom: remind your child that almost all letters start at the top. Put a small green dot where each letter starts.
- Pressing too hard: practice on a piece of paper placed on a soft surface, like a magazine, and show “light pencil” writing.
- Letters floating above the line: use paper with a bold baseline and say “sit on the line” as they write.
- Rushing: ask for three of their “best” letters instead of a whole row.
- Awkward grip: go back to short pencils and fine motor play for a few days.
Fun Activities to Make Letter Practice Exciting
- Letter hunt: find a letter around the house, then write it.
- Rainbow writing: trace one letter several times in different colors.
- Write a shopping list together and let your child write one or two words.
- Mail a letter to a grandparent or friend.
- Letter of the week: focus on one letter with crafts, books and tracing pages.
- Stickers and stamps as rewards for finished pages.
How Long Does It Take to Learn to Write Letters?
Most children need several months of short, regular practice to write all uppercase and lowercase letters clearly. Many kids can write most uppercase letters by the end of pre-kindergarten and most lowercase letters during kindergarten. Neatness and size keep improving through first and second grade, so focus on progress, not perfection. If you are unsure how to teach a child to write a tricky letter, go back to the shape groups in Step 4.
Frequently Asked Questions
Should I teach uppercase or lowercase letters first?
Most teachers start with uppercase letters because they are easier to form and always start at the top line. Once those are comfortable, move to lowercase letters, which children see much more often in books.
At what age should a child write their name?
Many children can write their first name between ages 4 and 5. Some start earlier and some later — both are normal.
How many minutes a day should my child practice writing?
For preschoolers, 5–10 minutes a day is plenty. Kindergarten children can do 10–15 minutes. Short, happy sessions are better than long ones.
Is it normal for kids to write letters backwards?
Yes. Letter reversals (like b/d or backward s) are very common up to about age 7. Keep practicing correct formation and the reversals usually fade with time.
Do tracing worksheets really help?
Yes, when used at the right time. Tracing helps children learn where letters start and which way to move. Follow tracing with copying and independent writing so they do not depend on dotted lines.
How do I teach my 3-year-old to write the alphabet?
At age 3, focus on play first: playdough, crayons, drawing lines and circles, and writing letters with a finger in sand. Introduce a few simple uppercase letters like L, T, H and O, and the letters in their name. Do not expect neat writing yet — short, fun practice is the goal.
How do I teach kids to write their name?
Show the name with a capital first letter and lowercase letters after it. Let your child trace it, then copy it under a model, then write it from memory. Practice one or two letters of the name at a time if the whole name feels too long.
Start Practicing Today
Learning how to teach a child to write letters is a journey of small steps: strong hands, a good grip, basic strokes, then letters in shape groups. Keep it short, keep it fun and celebrate every wobbly letter along the way. Once your child can write letters, try our Writing Prompt Generator for Kids to practice short words and sentences, or explore more printable activities for kids.
Ready to begin? Create a free, printable page in seconds with our Letter Tracing Worksheet Maker — type any letters or your child’s name and print.
